FPV Universal HDMI to AV Converter w/ Shutter Function for Sony Nex5 and 7 Serials Camera
HDMI D-type interface line, miniHDMI standard interface compatible with most devices, direct camera powered, no external power supply; direct connection diagram pass transmitters, no HDMI cable Needed
Specialized design for fields in Aerial Photography and special needs of weight and volume. Ultra-light weight of only 4G
It is necessary for FPV micro aerial photography and brushless cradle head.
Professional for Sony NEX series, direct connection by ultra-soft silicone-line.
Straight to HDMI D-type port, compatible for most equipment with mini HDMI standard interface devices.
The HDMI output mode of camera must be set to Auto; Or It may not be output correctly
there is 3 reserved hole mark G, A, V respectively in the back of the module
G=Ground
A=Audio output
V=Video output
easy and simple for installation.
We optimized it according to the size of SONY NEX 7, no difficulty on installation now.
USAGE:
1, Set up the camera HDMI output to auto resolution mode.
2, Set up the video mode to infrared remote control mode.
3, Connect converter with the camera, connect the servo cable of shutter controlling with the remote control receiver.
4, Install the control optical fiber on the converter, stick the other end of the optical fiber to the window of infrared receiving on the camera.
In order to remote control the camera to take photo and vide, customer needs to specify a switch with three gears, and connect the shutter control servo cable with the matched channel on the receiver.
If the shutter control servo cable doesn’t connect with the receiver, the converter can only work as a converter for HDMI to AV, it can’t control the camera to take photo and video.
Please be careful of the installation of optical fiber, please use a sharp knife to make the cut clean and smooth with better light transmission.
The control switch of three gears:
1, gear up: take photo
2, gear middle :stop (neutral)
3, gear bottom: video recording
It is very important that the three geared switch needs to be on gear middle (neutral) position before you powered converter( the action of powered the converter includes turning on the camera or supply power to the receiver)
When the shutter control switch is on gear middle(stop), red LED is on.
When you turn the 3-gear switch to gear middle (stop), the camera starts taking photos, the red LED flashes 2 times a second.
Control of video recording:
It enters video recording mode when the 3-gear switch was turn to video recording gear from stop gear, and it starts recording video and save it on a SD card, the red LED on the converter flashes quickly.
When it is turned from video recording gear to stop gear, the camera stops video recording and the video is saved at same time.
Attentions:
Please note that the interval of changing stop (neutral) to another gear(gear up: take photo or gear bottom: video recording )should be more than 5 seconds, because the camera needs enough time for response, otherwise, the frequent command change from video transmission and stop video recording will lead to logic confusion of camera control, and may damage the recorded files.
The converter doesn’t support RC receiver of high voltage, the voltage for receiver should be 4.8V-6V, it will damage RCD3015G converter if the voltage is over the voltage limitation.
If there is no signal from the receiver, the red LED flashes 4 times a second, it reminds customer to check if the receiver is powered and the transmitter is turned on.
Cameras that our converter can support and work with:
We tested the following cameras and no problem for working with SONY NEX-5, 5N,5R,5T,5TL,6R,7N,7R. Nikon D90,D3X
Cameras that it supports replay: Panasonic GH2, GH3 and Cannon 60D
It also supports SONY NEX 50i sold in mainland China and SONY NEX 60i series camera sold in Hong Kong or sold in Europe

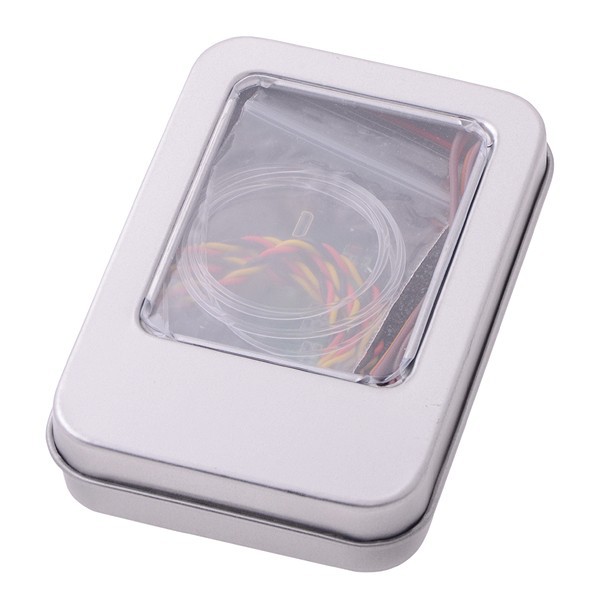
- converter module 1 piece
- Black red yellow AV cable 1 piece
- 60cm long, 0.75mm POF optical fiber cable 1 piece
(it only needs 15cm long cable for normal
|
 |
Video for installation: http://www.youtube.com/watch?v=YrRLjMib3VE


")
